Schema Creation
Understanding what we need
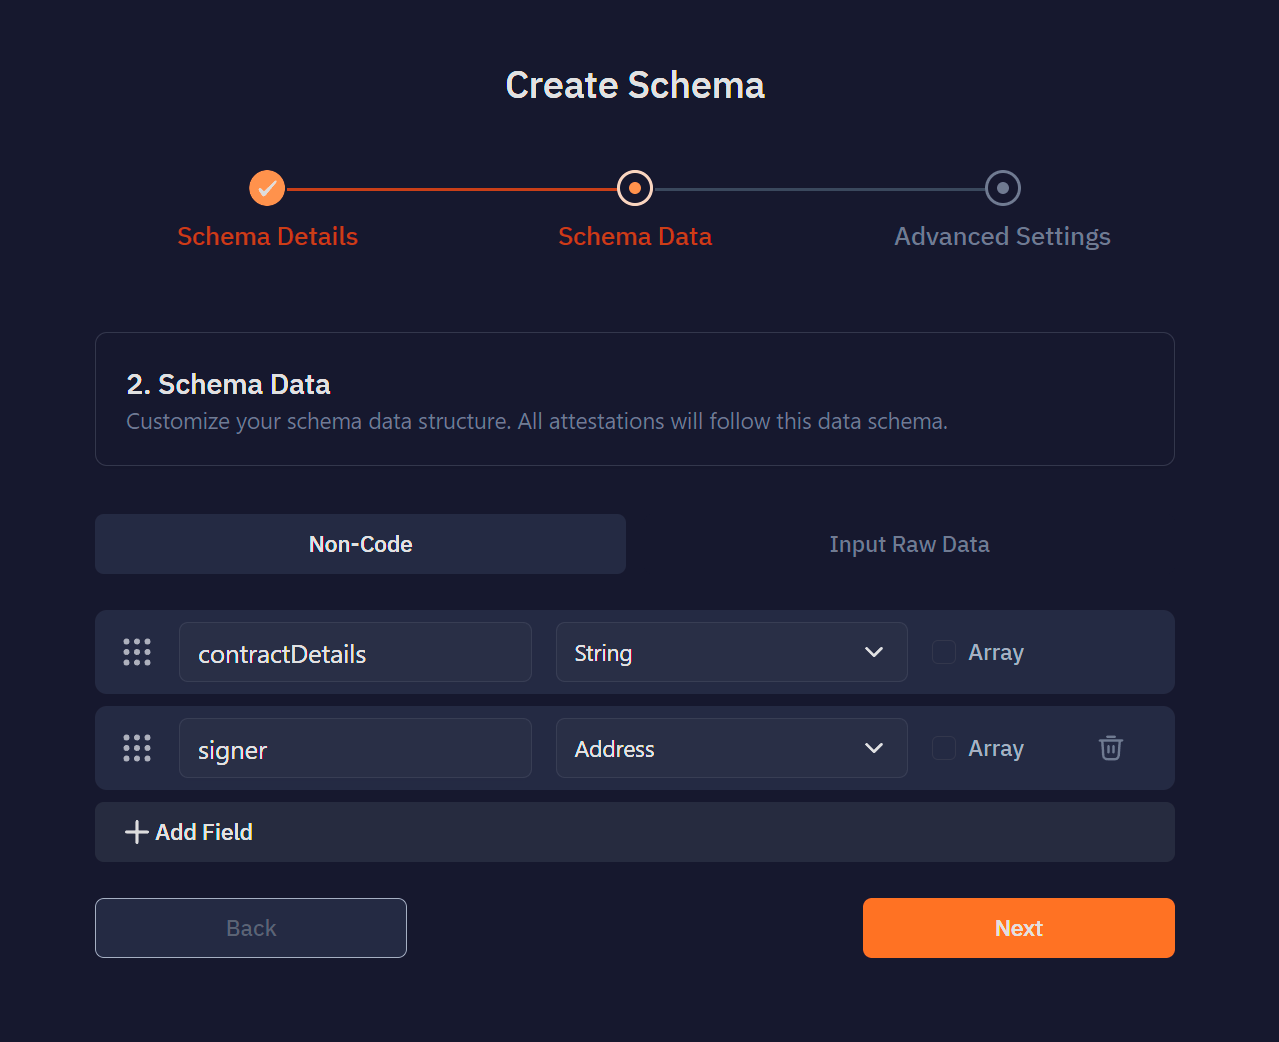
First, decide what data your application needs. This application stores two things:
- contractDetails: a string of text, corresponding to what Bob is signing
- signer: an address, corresponding to Bob's account
The attester's address is recorded automatically in every attestation, so the schema does not need to store it.
Creating the schema
You can create a schema in two ways: with the Schema Builder, which needs no code and is the quickest option, or in code through Sign Protocol's Smart Contract or the NPM SDK.
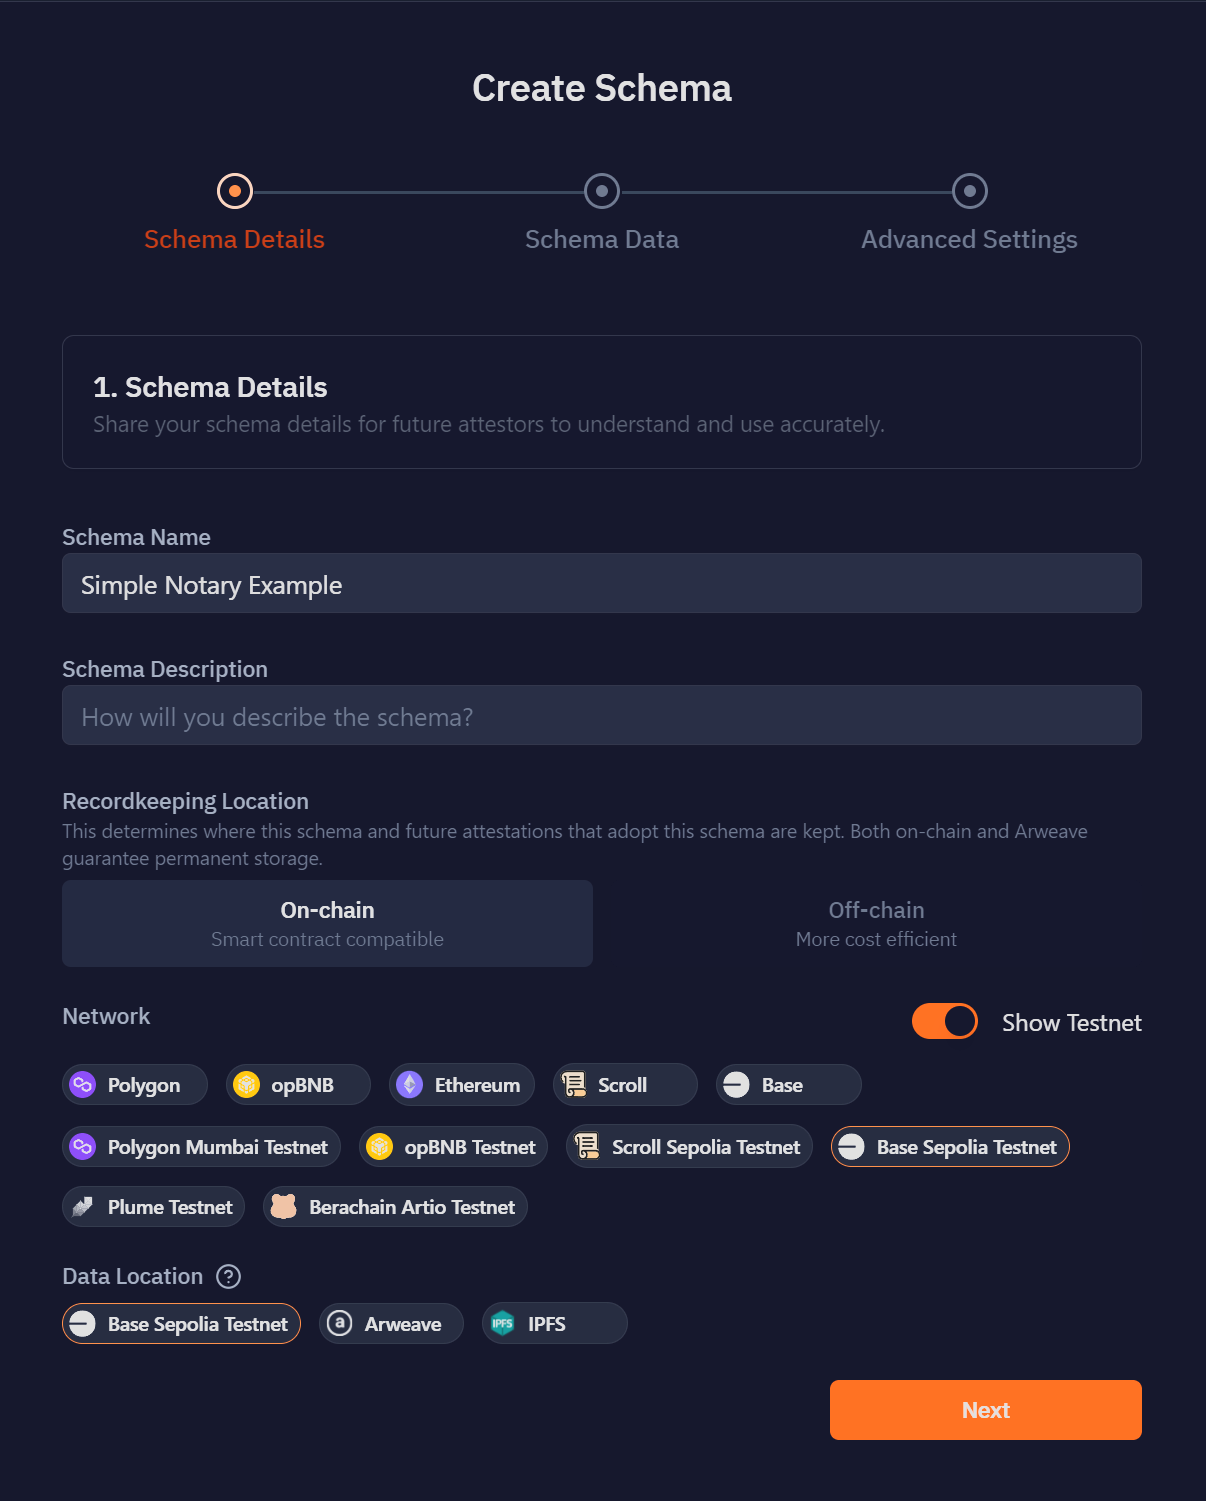
In the Schema Builder, first name your schema, add a description, and choose where to store attestation data. This tutorial stores data on-chain on the Base Sepolia Testnet. Then continue to the next step.
Warning
NOTE: If you select a data storage option that is not directly on-chain (such as Arweave/IPFS), your schema will require Hybrid Attestations. The SDK handles this for you, but if you call Sign Protocol smart contracts directly, pass an encoded Content ID (CID) as data when creating a hybrid attestation.
Schema Builder
Next, create the schema's data structure with two fields: contractDetails and signer. You can enter fields in the UI or edit the JSON data structure directly (click "Input Raw Data"). Then continue to the next step.
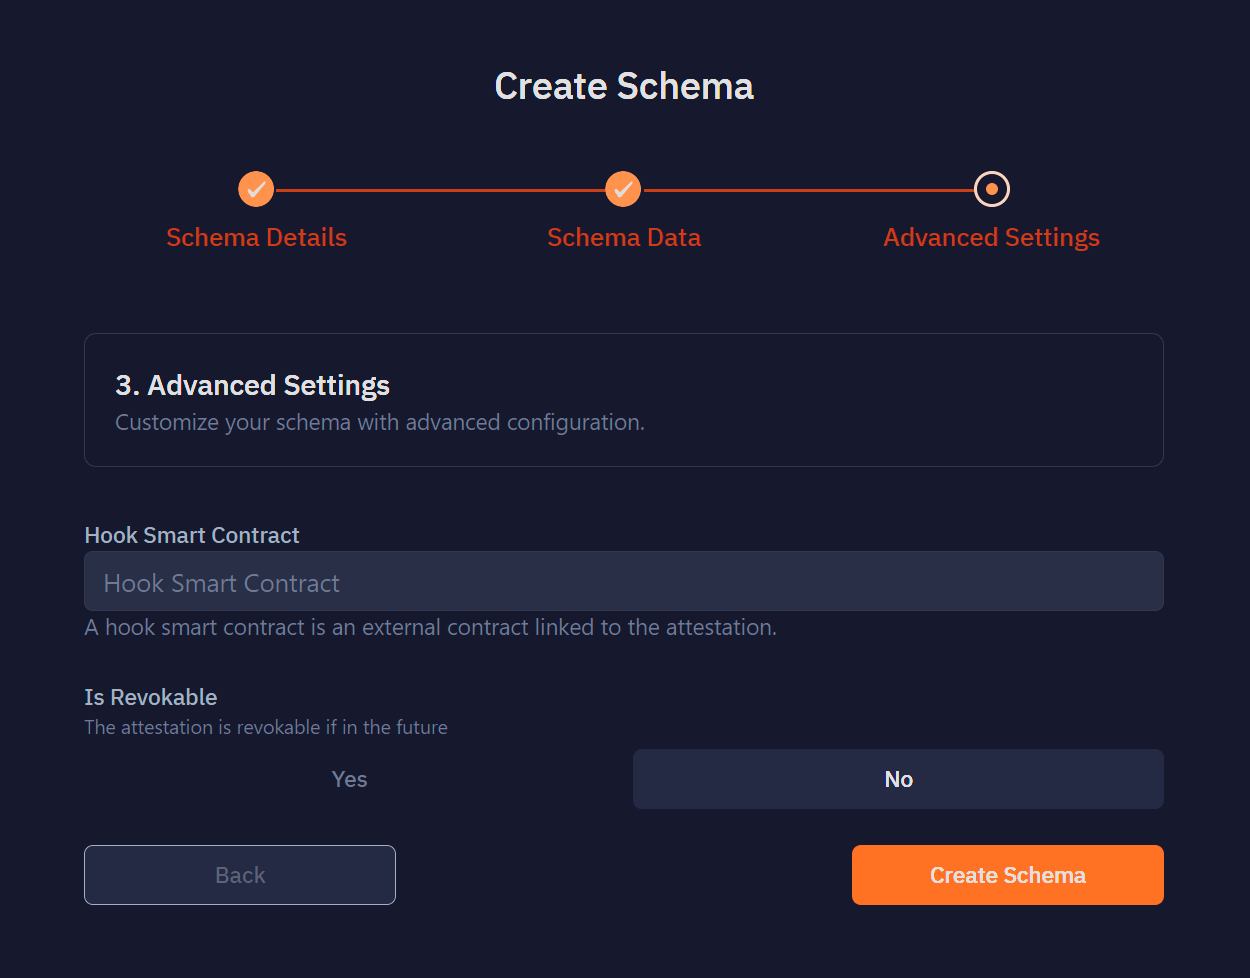
You can optionally set a smart contract address that is called whenever an event occurs (attestation created, revoked, etc). Such a contract can take payments, or revert a transaction when a check fails (e.g. a whitelist). This tutorial leaves the field blank. Leave the attestation non-revocable: Alice cannot make mistakes. Then press "Create Schema".
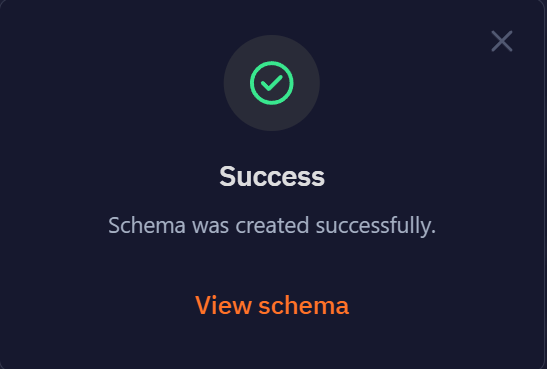
Once the schema is created, click "View Schema" to open its page.
NPM SDK
Install the SDK into your project and create a SignProtocolClient to make calls that write to the blockchain. In the frontend, the private key is optional: without one, the SDK uses window.ethereum to sign transactions. In a Node backend, you must provide a private key to make write calls.
Warning
NOTE: The account variable is optional. If it is not provided, the SDK derives an account from the window.ethereum provider. If that provider cannot be found, SDK calls will fail.
Warning
NOTE: To create offchain attestations, you must provide an API key when initializing your SignClient. The key is optional for onchain attestations. Generate a key here. For more information, see Installation.
const { SignProtocolClient, SpMode, EvmChains } = require("@ethsign/sp-sdk");
const { privateKeyToAccount } = require("viem/accounts");

const privateKey = "0x...";
const client = new SignProtocolClient(SpMode.OnChain, {
  chain: EvmChains.baseSepolia,
  account: privateKeyToAccount(privateKey), // Optional, depending on environment
  apiKey: 'xxx', // Optional for onchain, required for offchain
});
Next, create the schema described above.
const res = await client.createSchema({
  name: "SDK Test",
  data: [
    { name: "contractDetails", type: "string" },
    { name: "signer", type: "address" },
  ],
});
This returns transaction information, including the schema ID and transaction hash. For example: